Small Frye is a free monthly program for preschoolers and their caregivers. We’re on summer break, but you can still check back here every month for a different art-making activity inspired by a work of art or storybook. To learn more about the program, which will return in fall 2023, visit our program page.
This month's art activity starts with looking at an artwork from the current exhibition THE THIRD, MEANING: ESTAR(SER) Installs the Frye Collection. Take a moment to look closely at the artwork and talk about it with your child using the questions below.
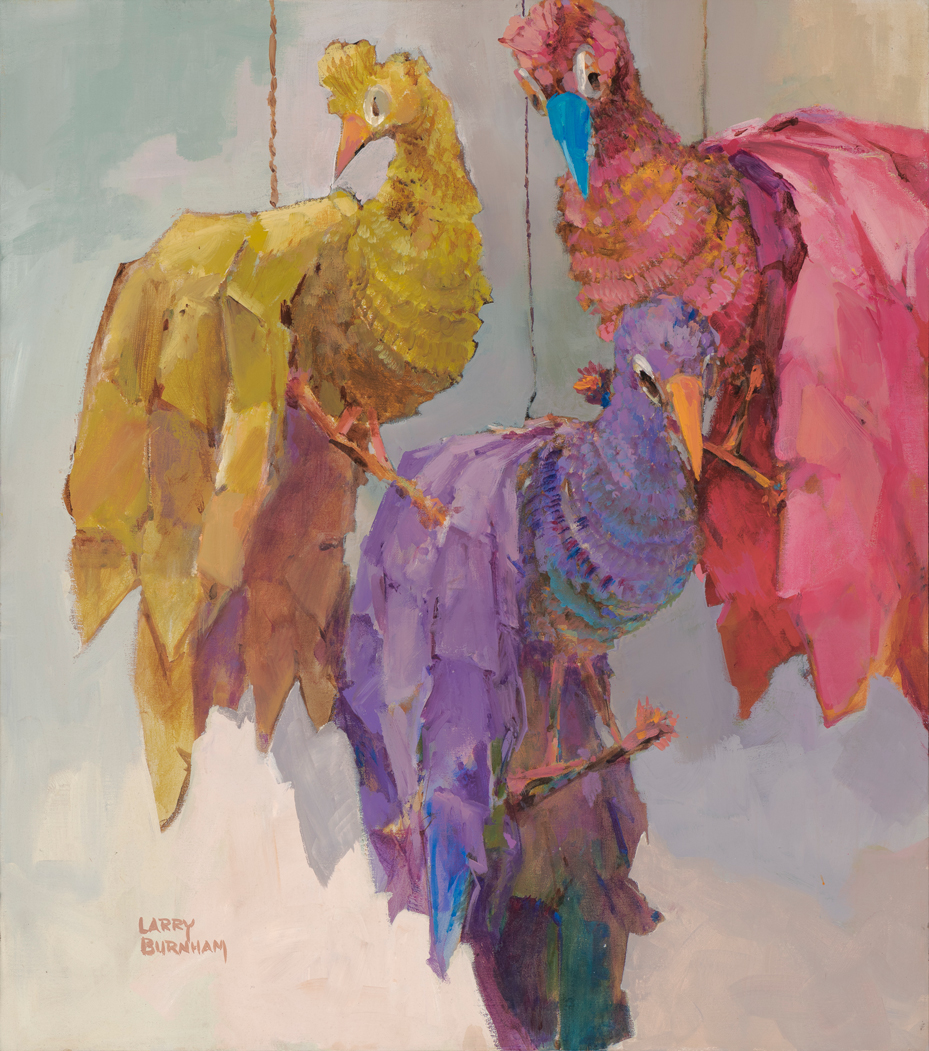
Larry Burnham. Las Piñatas (The Piñatas), ca. 1960–71. Oil on canvas. 31 3/4 x 28 in. Frye Art Museum, Museum Purchase, 1971.008. Photo: Jueqian Fang
REFLECTING PROMPTS
-
What’s going on in this picture? What do you see that makes you say that? What more can you find?
-
What colors do you see? Point them out!
-
What kind of animal is shown in the picture? What sounds does that animal make?
ARTMAKING
Piñatas are culturally significant in a lot of Latin American countries. When there is a celebration—like a birthday—children take turns hitting a colorful piñata filled with candy and other goodies until it breaks open, spilling the contents on the ground.
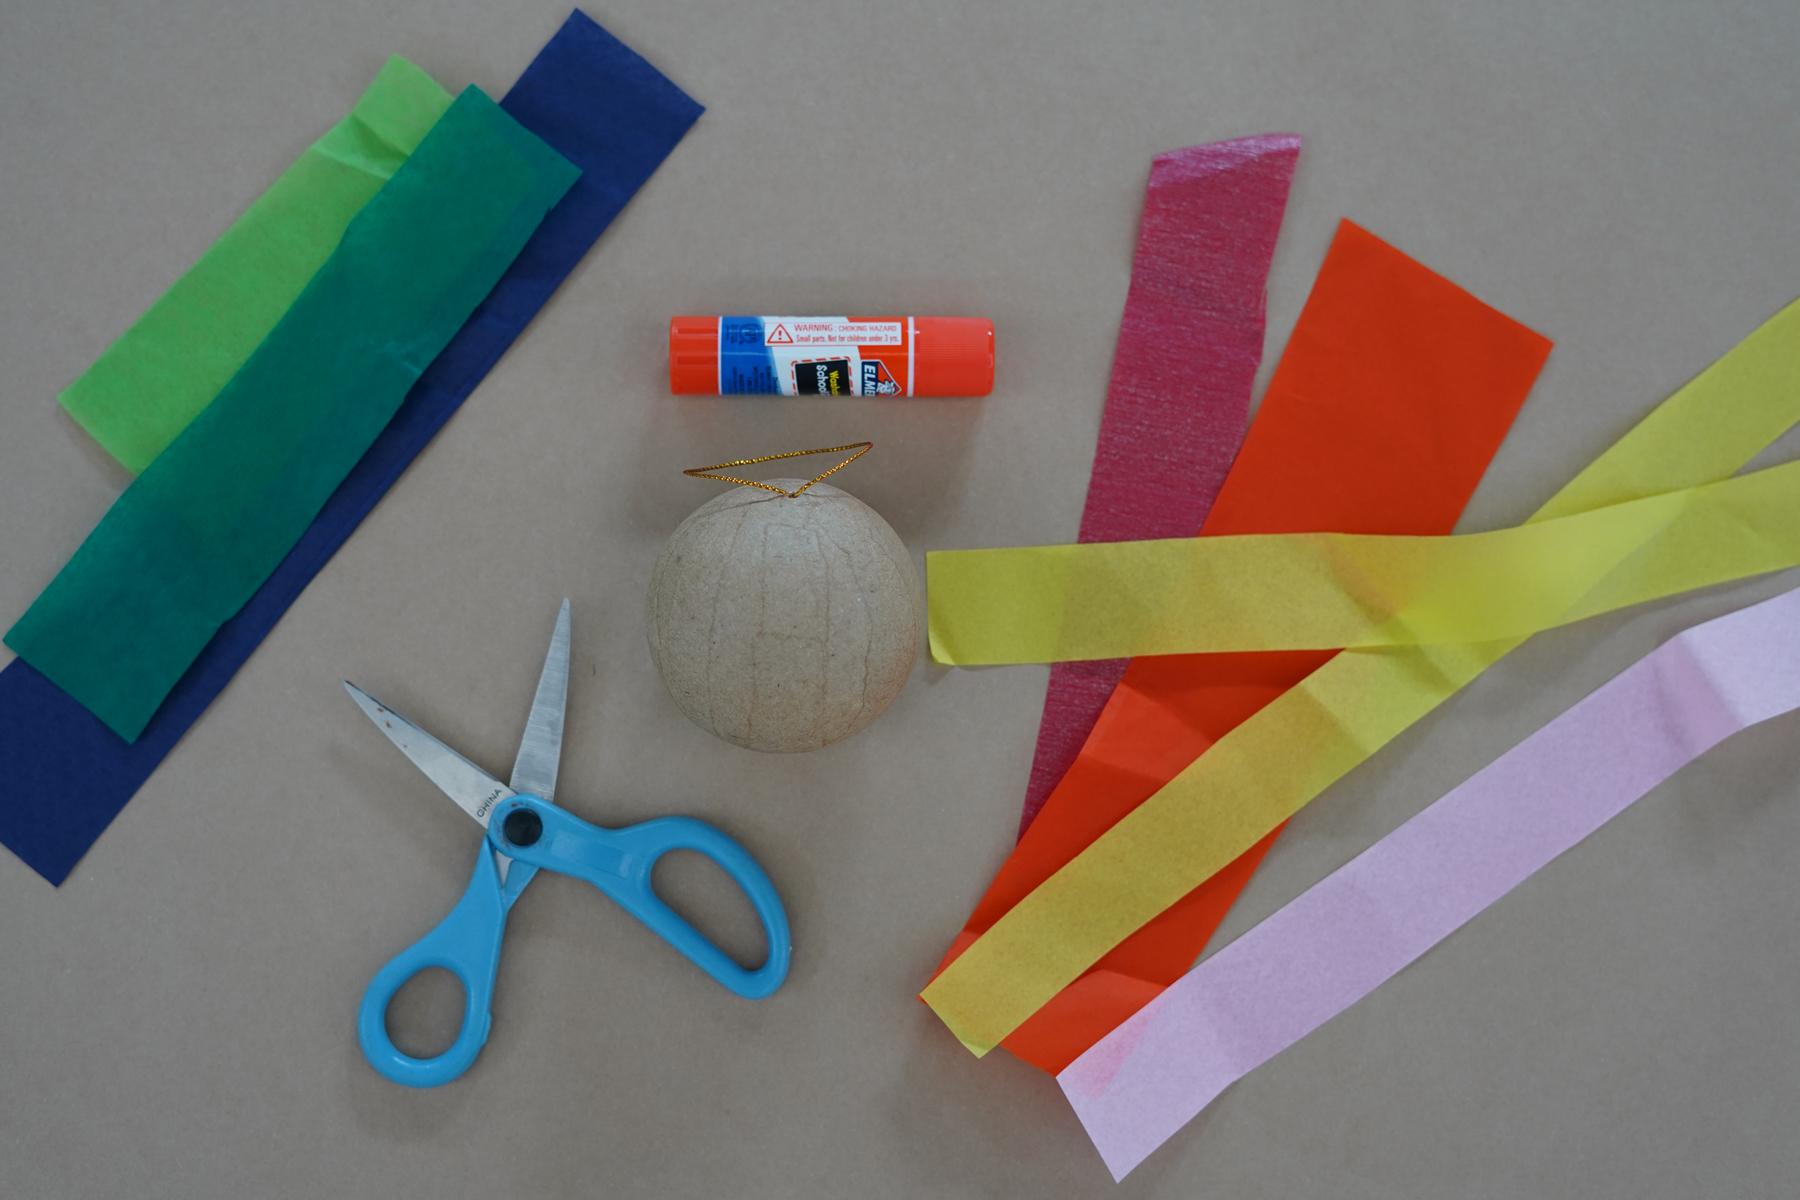
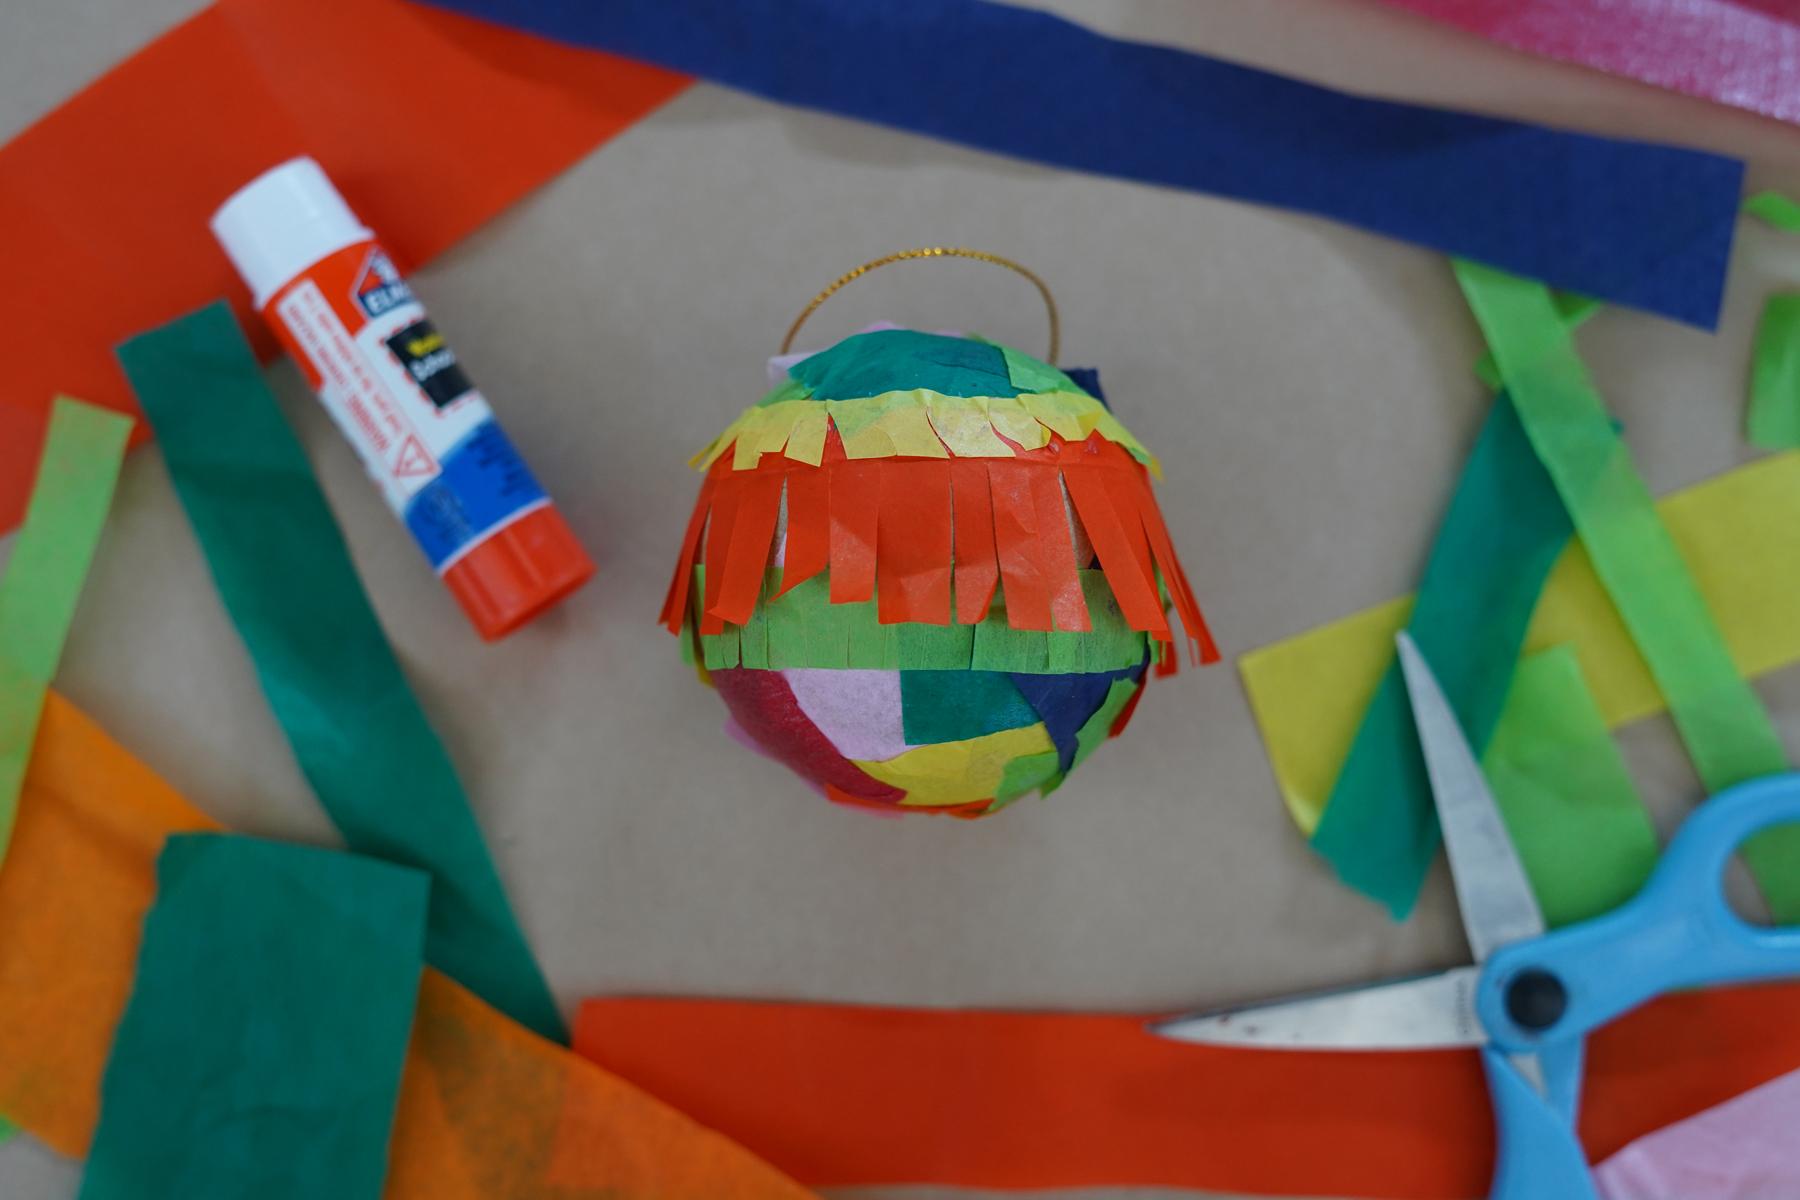
At Small Frye in February, we made our own piñatas inspired by this artwork. The materials you will need are strips of tissue paper in a variety of colors, scissors, a glue stick, and a cardboard ball.
Separate the tissue paper into two categories: warm colors and cool colors. Warm colors are yellow, orange, and red. Where can we find warm colors? During a sunset? In the desert? Cool colors are green, blue, and purple. Where do we see cool colors? In the forest? In the ocean?

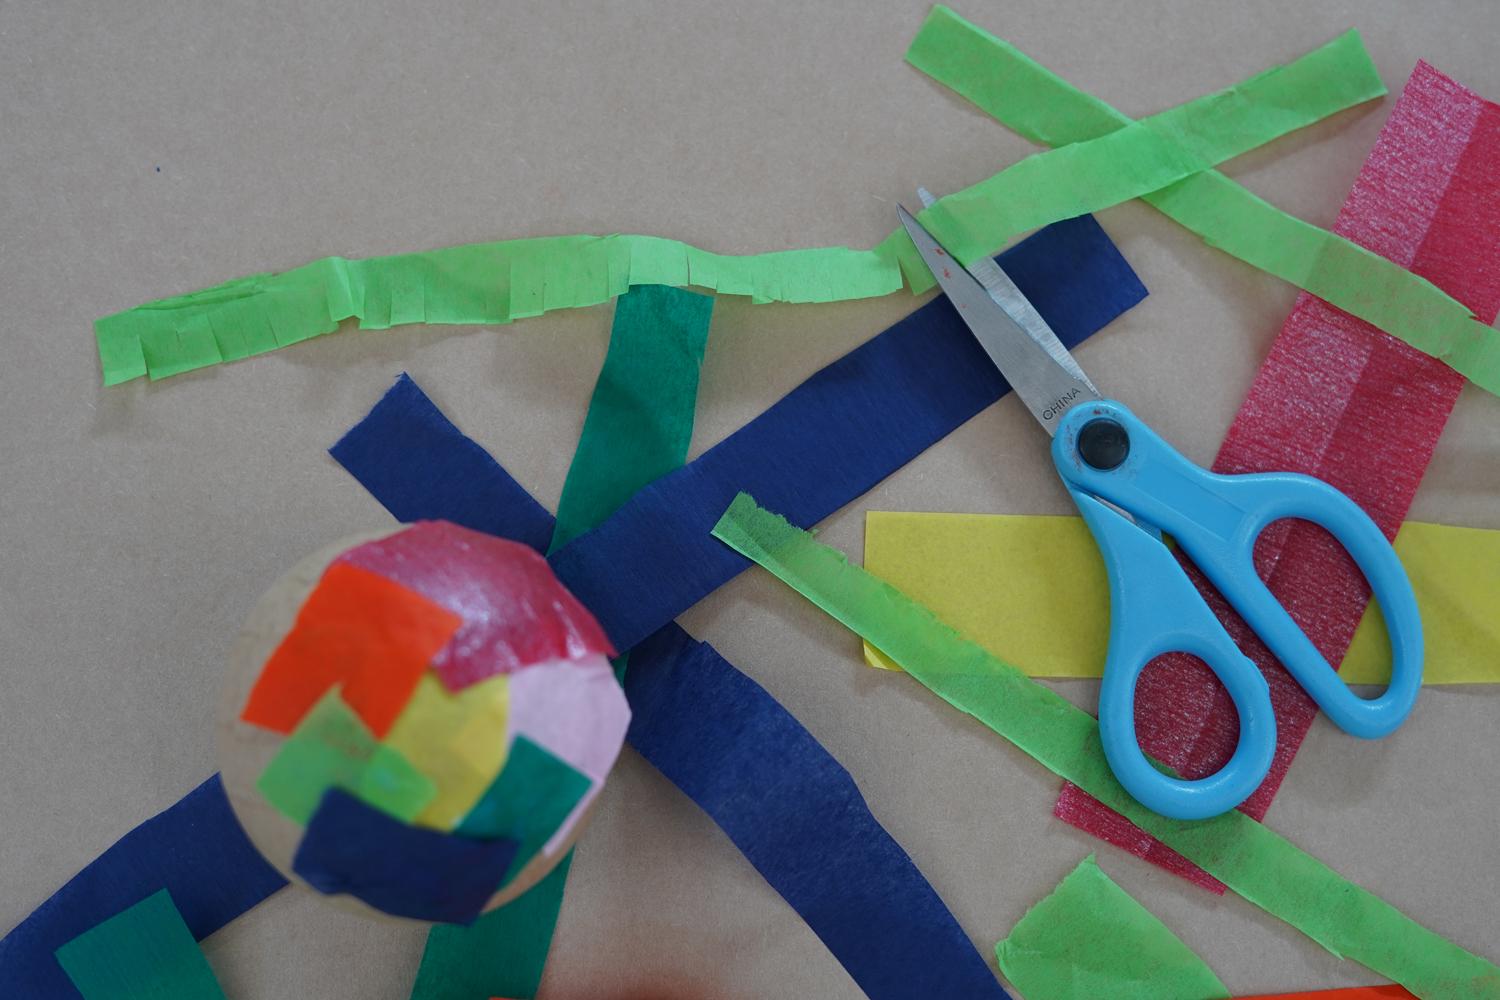
After selecting a color to start with, ask your child if they prefer to tear or cut the tissue paper. If they prefer to tear the strip of tissue paper, they may tear it into a small square. Once they have the small square finished, they are going to glue it at the bottom of the cardboard ball. You will repeat these steps a couple of times with warm and cool colors.
If your little artist wants to practice cutting, they are going to pick a strip of tissue paper. Ask if the strip is thick or thin. If they have a thin piece of paper, carefully have them use scissors to cut the paper vertically. Try not to cut all the way up, so that the strip of paper stays together, creating a fringe effect.
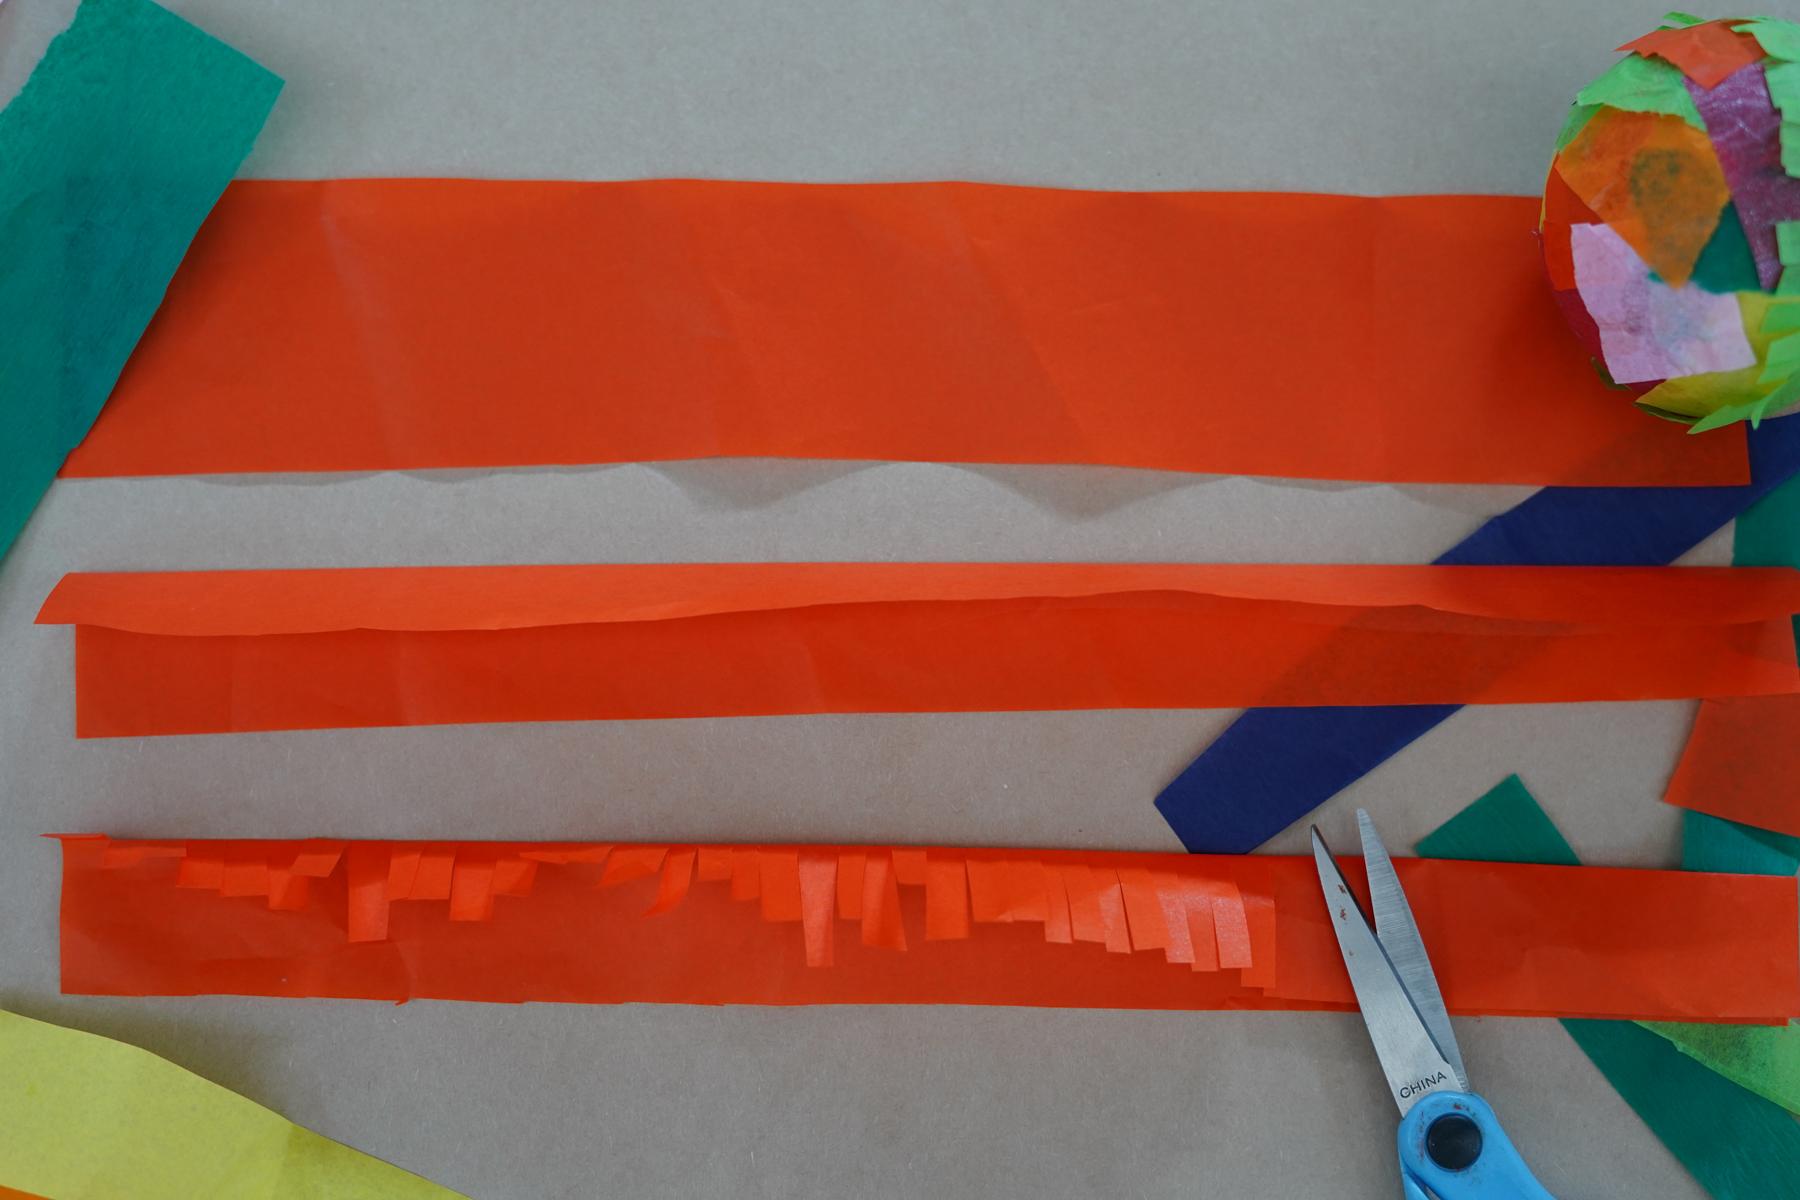
If your child has a thick piece of paper, have them fold the strip halfway like a hot dog. Carefully have them use scissors to cut the paper to where the fold is, also creating a fringe effect.
Continue cutting the strips of paper in this pattern to create a fringe. Once they have finished cutting the fringe, they will glue the top part of the tissue paper and wrap it around the ball.
Whether they use the fringe pattern or the tearing method, your child can finish decorating their piñata using these methods.
When the piñata is complete, reflect on how it feels. What textures do you notice? Is it hard or soft? How does your child feel after making their artwork?