By Teaching Artists Lynda Belt and Connie Fu
Earlier this year, we welcomed students and teachers to the museum for a Field Trip to the Frye and engaged in vibrant discussions and art making inspired by Jessica Jackson Hutchins: Wrecked and Righteous. The exhibition featured a wide range of works spanning over two decades, including expressive sculptural assemblages that combine mundane or cast-off household items with handmade ceramic and papier-mâché elements.
Try creating a Wrecked and Righteous-inspired sculptural assemblage at home by following the steps below!
Materials
- Cardboard to use as a base, approximately 6 x 9 in, or 8.5 x 11 in, or 12 x 12 in
- Smaller cardboard pieces, including recycled boxes and coffee cup holders
- Masking tape
- Tissue paper, cut or torn into strips and smaller pieces
- Scrapbook paper
- Miscellaneous paper goods, including magazine scraps, maps, or newspaper
- White glue, diluted 1:1 with water to create a thin paste
- Paintbrushes (wide straight bristles)
- Scissors
Instructions
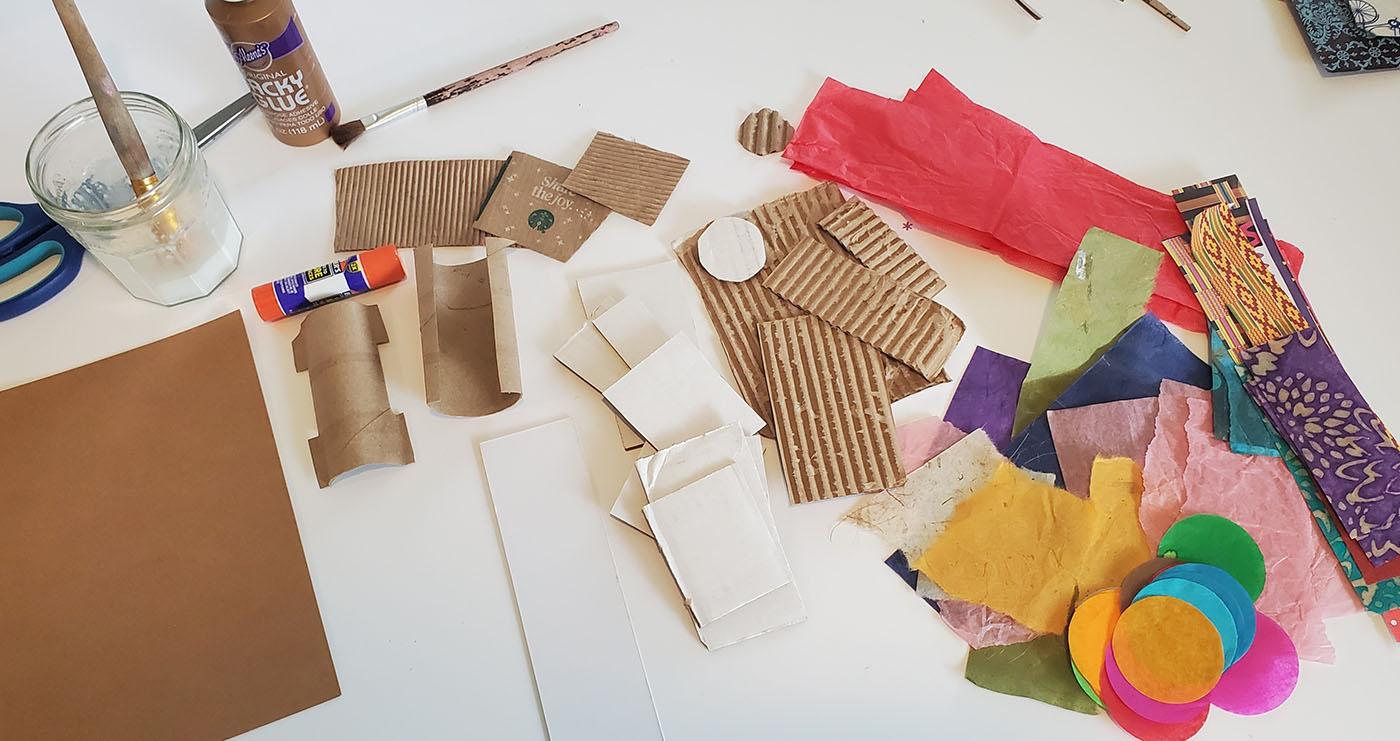
Gather and prepare your materials. Place your cardboard base on a table and arrange piles of smaller cardboard pieces, tissue and scrapbook papers, diluted glue, paintbrush, and scissors around it. Use scissors to cut cardboard or tissue paper into smaller pieces, if desired.
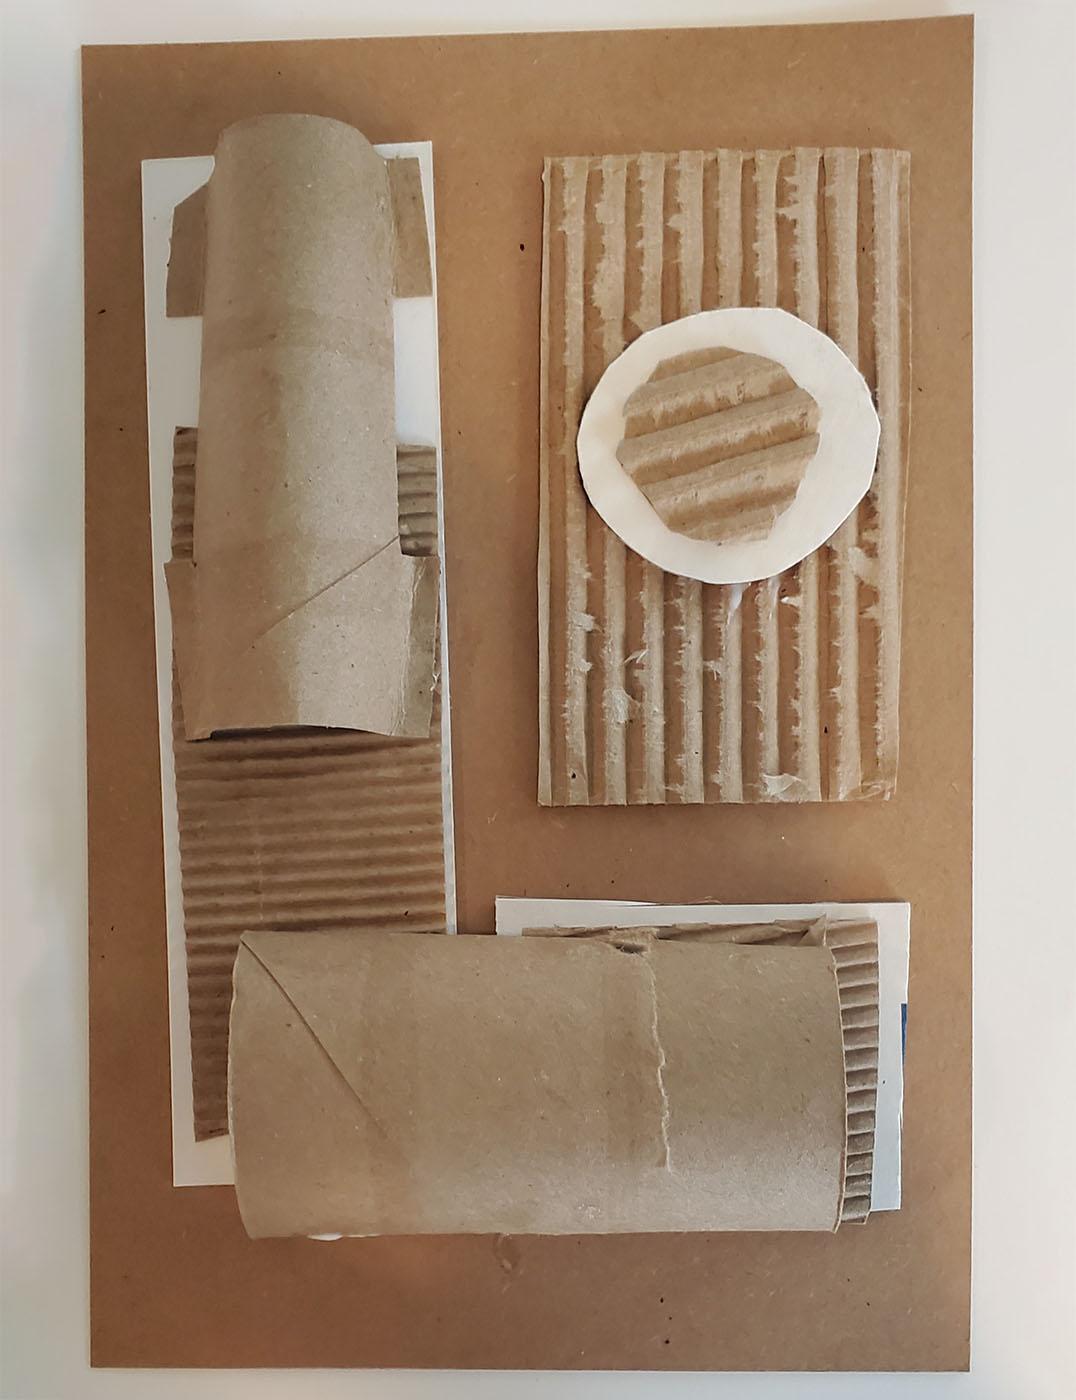
Use masking tape or glue to adhere the smaller pieces of cardboard onto the cardboard base in the shape of a letter. Feel free to build your shape up with many layers, so it has a sculptural form. Make sure the structure is solid—if pieces are loose, add more pieces of tape or glue. Allow the sculpture to fully dry.
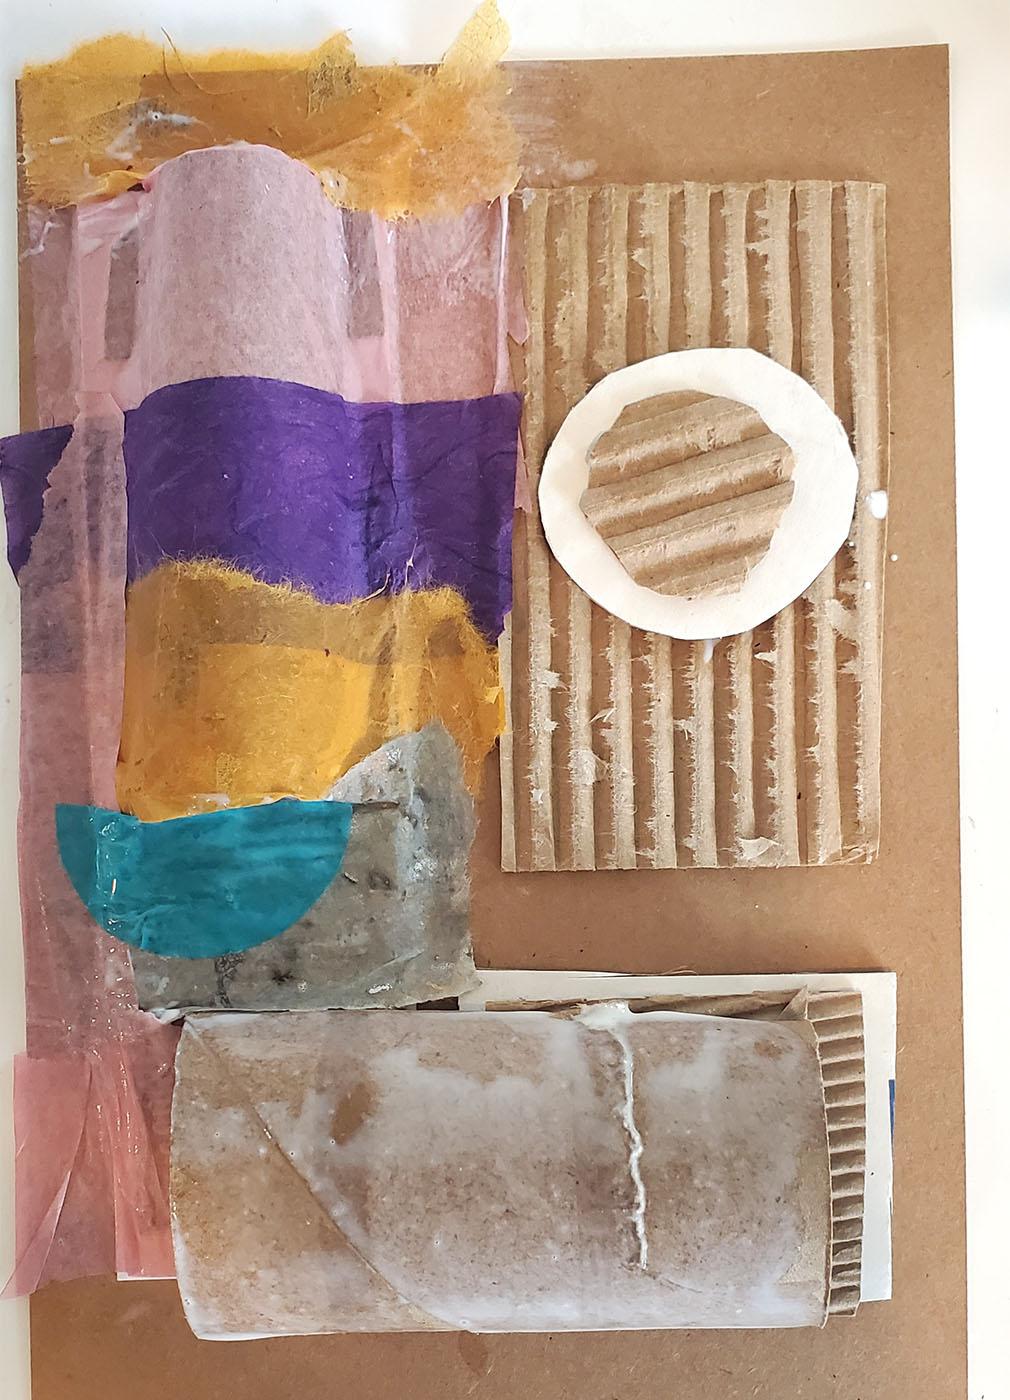
Using a paintbrush, brush the diluted glue mixture onto the cardboard sculpture. Be careful not to add too much glue; it should form a thin layer. When the glue is still wet, place pieces of tissue paper or scrapbook paper onto the forms. Lightly press down on the paper so it sticks to the cardboard. Use the paintbrush to lightly brush over the top of the tissue paper from the center to the edges to ensure it is secure.
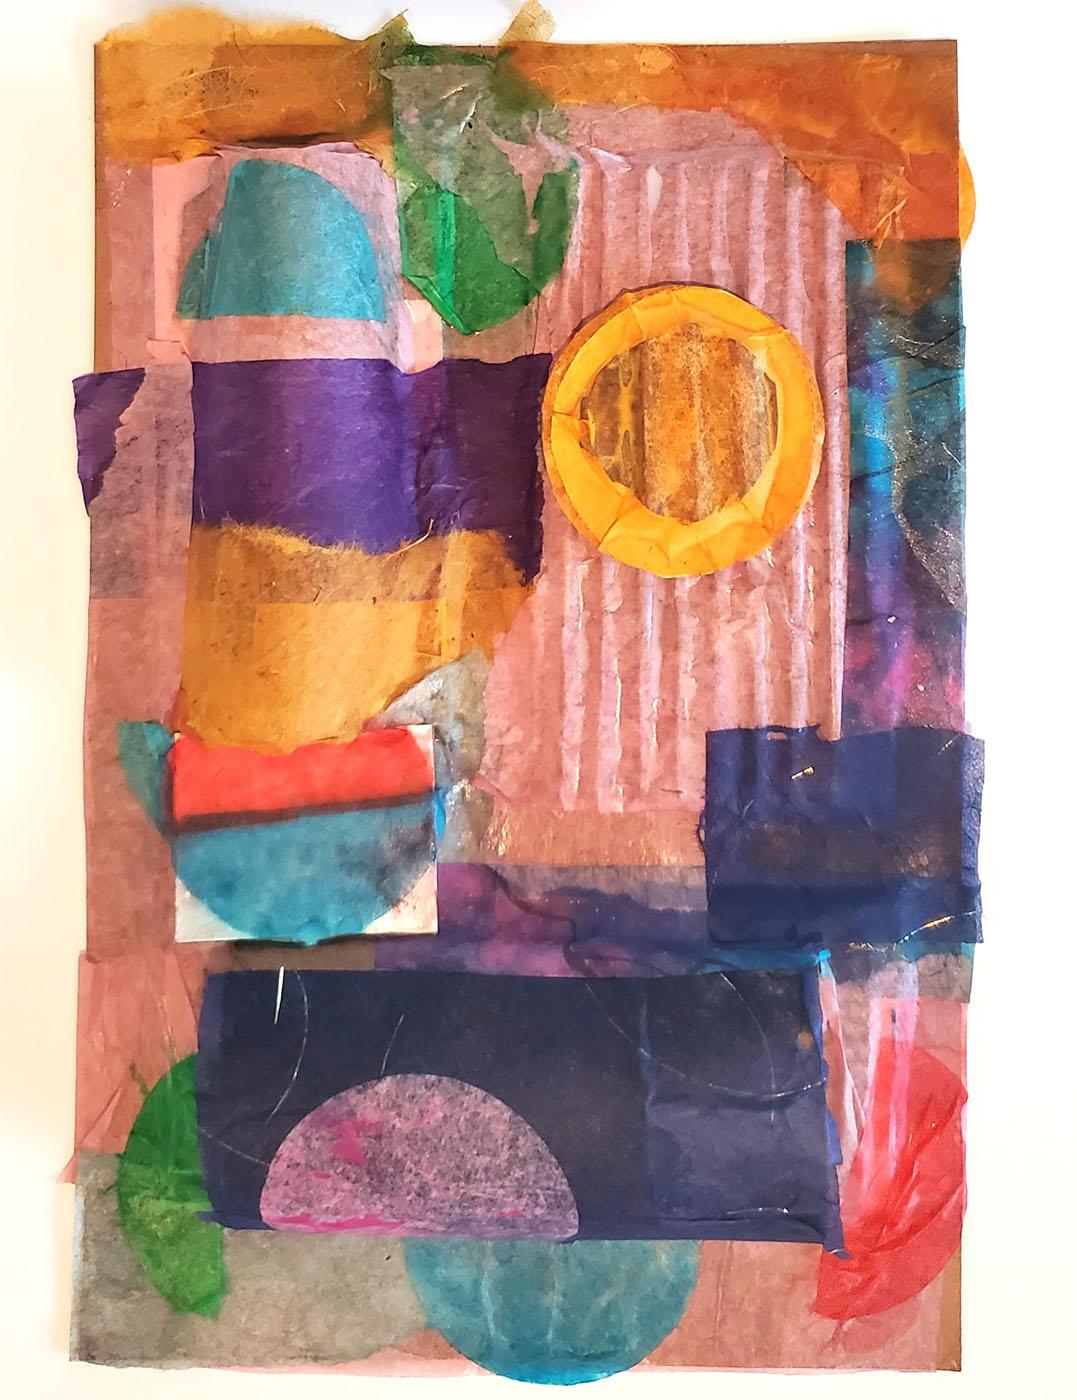
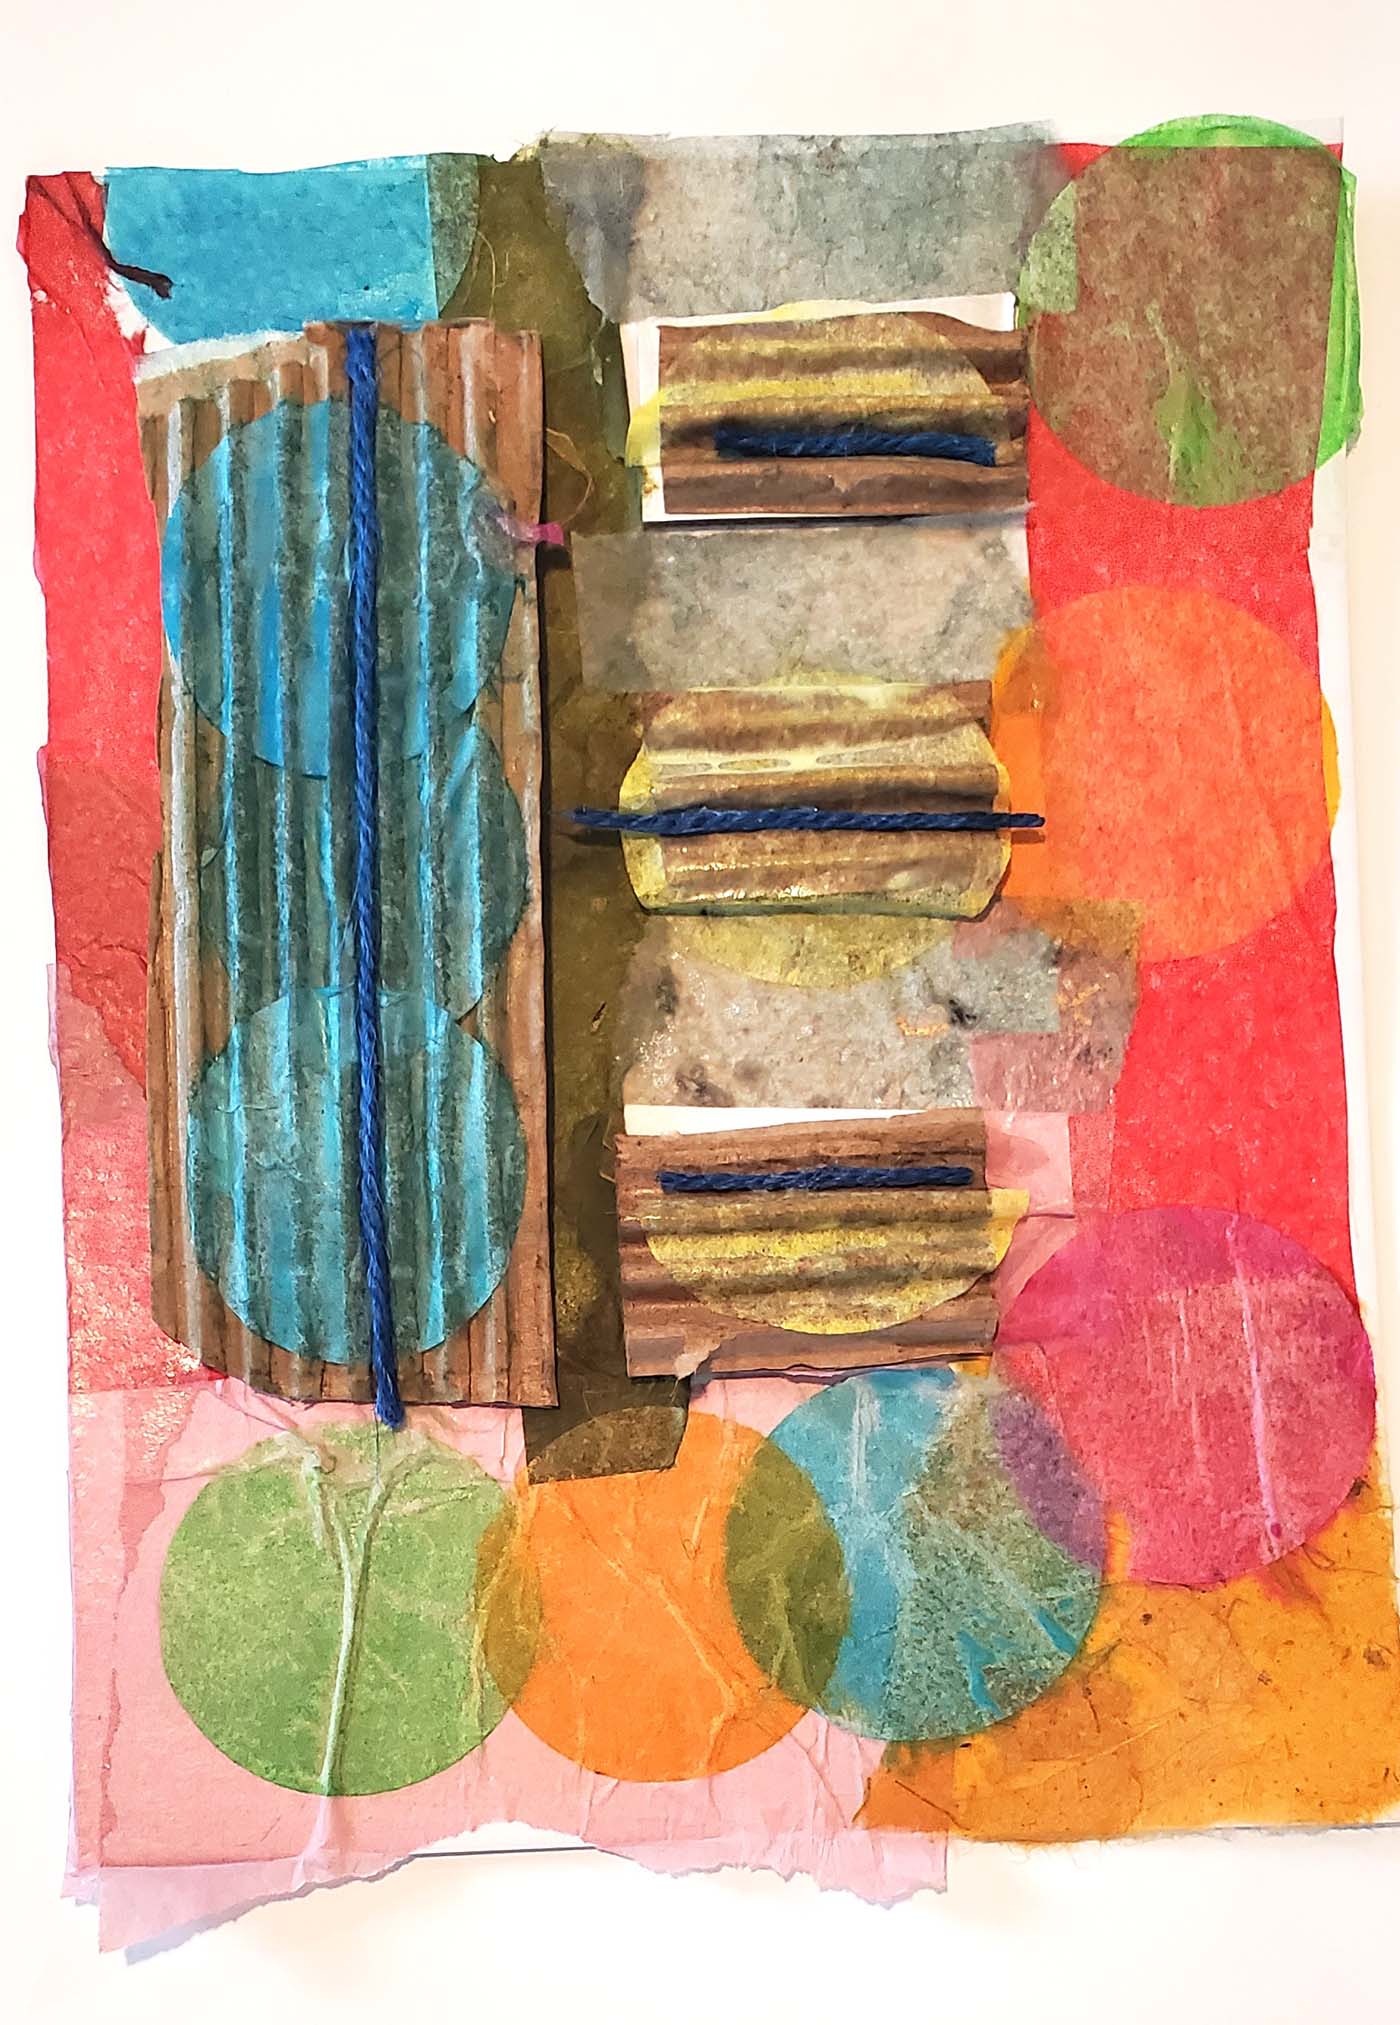
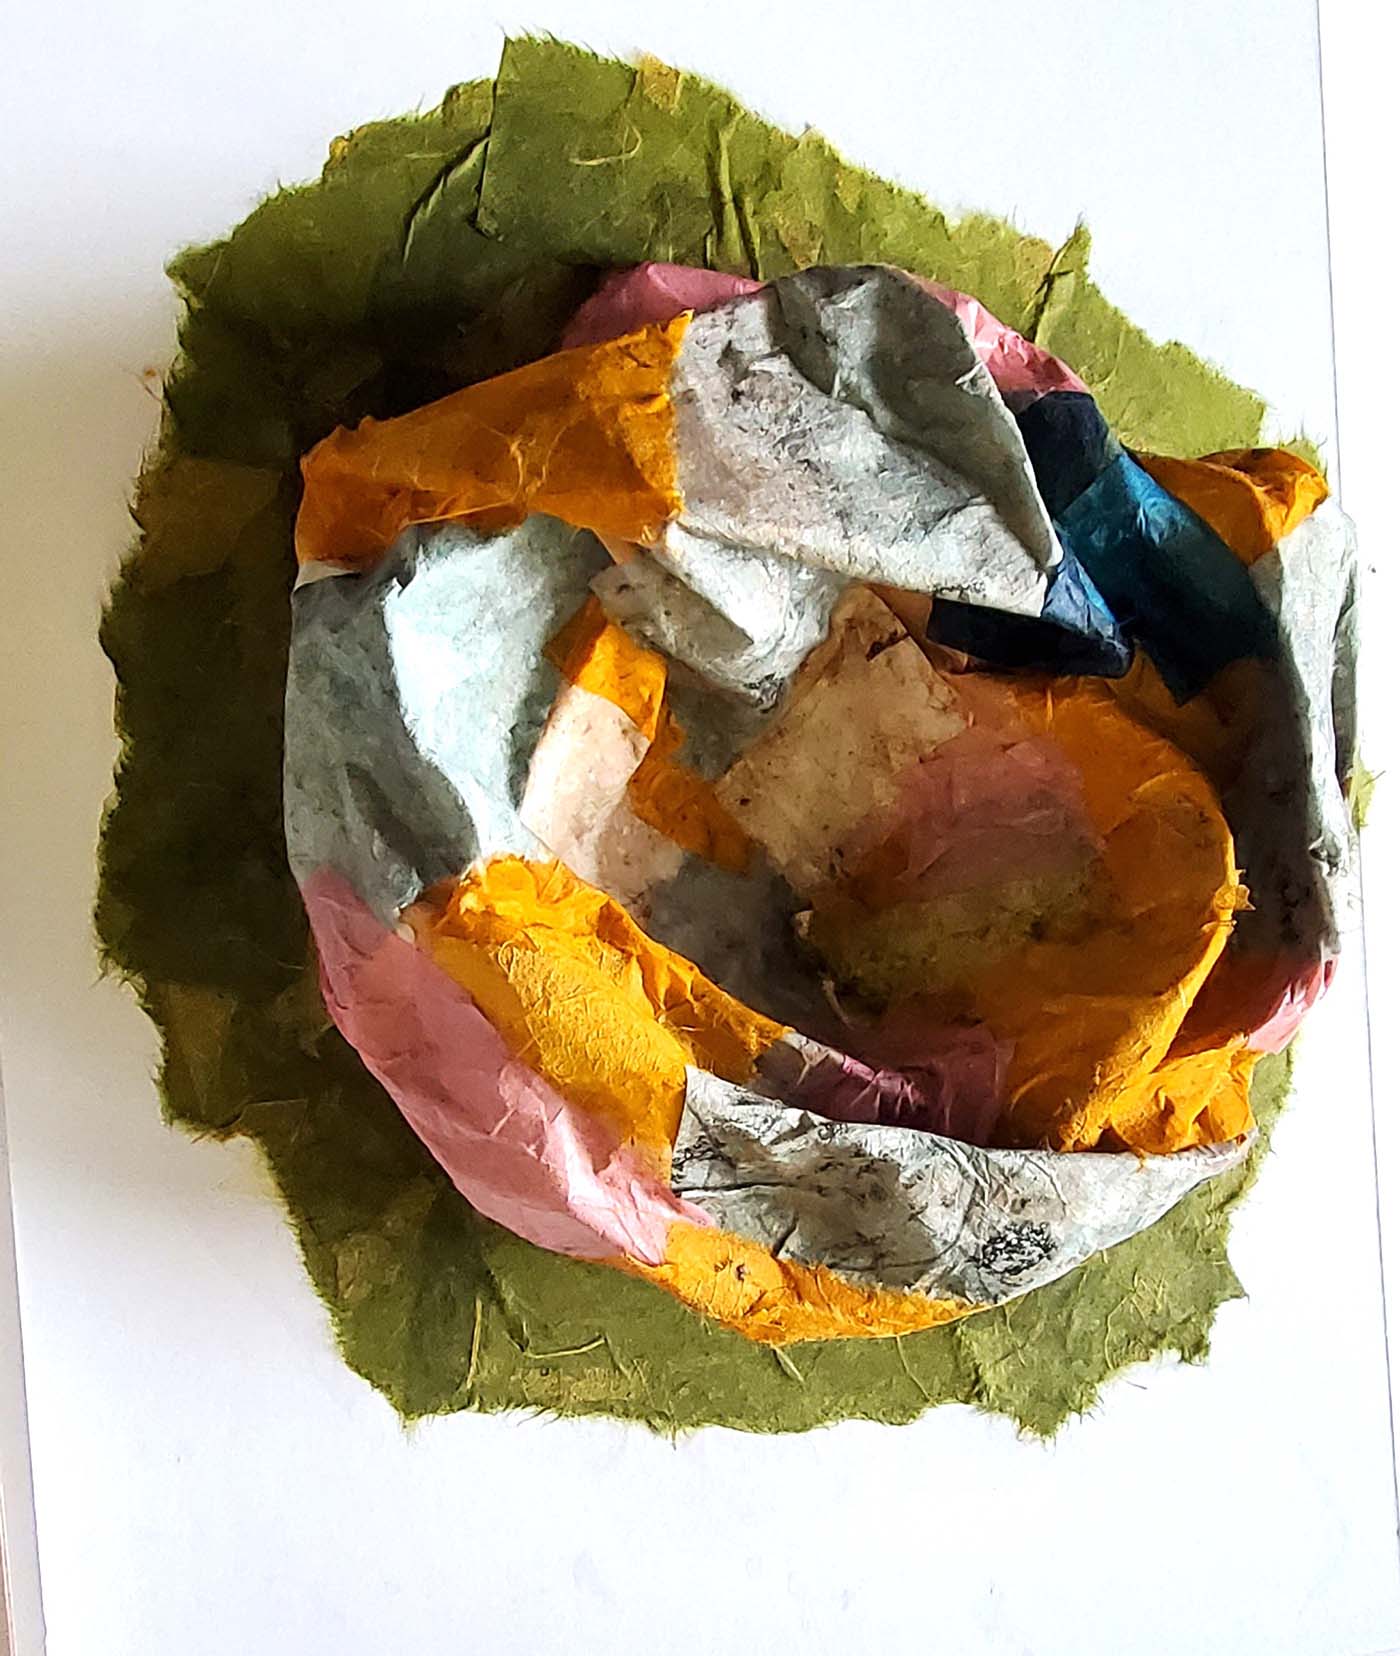
Layer the papers over the surface of the sculpture until it is completely covered with color.
Here are some examples of projects featuring different shapes and letters.
We encourage you to share photos of completed art activities with us at learning@fryemuseum.org!